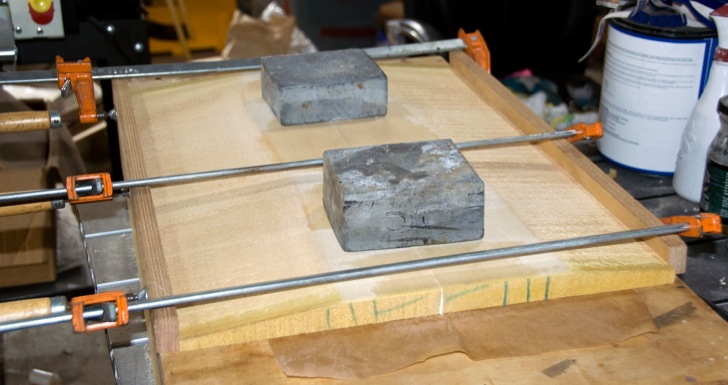
Starting in mid February, 2010, I am working on some new instruments for the Montreal Guitar Show. I use a Delta 6” jointer to prepare the inside surfaces of the top wedges (in at least two passes), and the edges to be joined. I use a Jet 16-32 drum sander to rough thickness the wedges. Then I lay up the glue joint on a torsion box with lead weights and bar clamps.
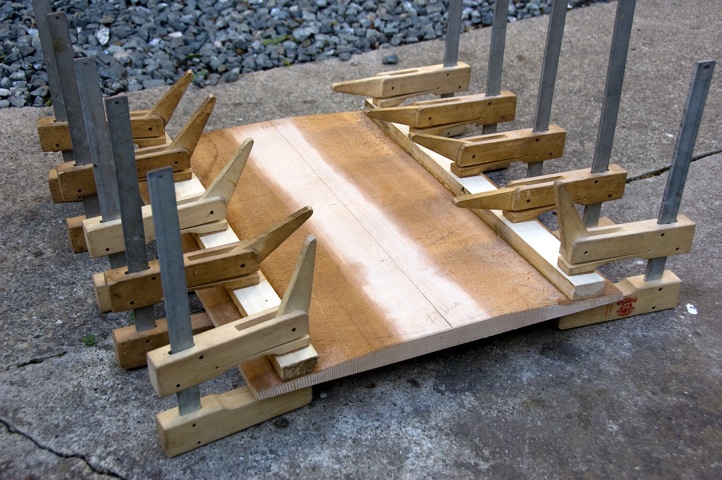
Here is a different blank (30 year old sitka) getting scrap wood (pine from a machinery shipping pallet) glued on to the thin sides of the wedges. The scrap wood is then thicknessed in the Jet along with the center of the blank to the final dimension for the top. The bolts that I use to hold down the blank on the CNC spoil board go through the pine scraps.
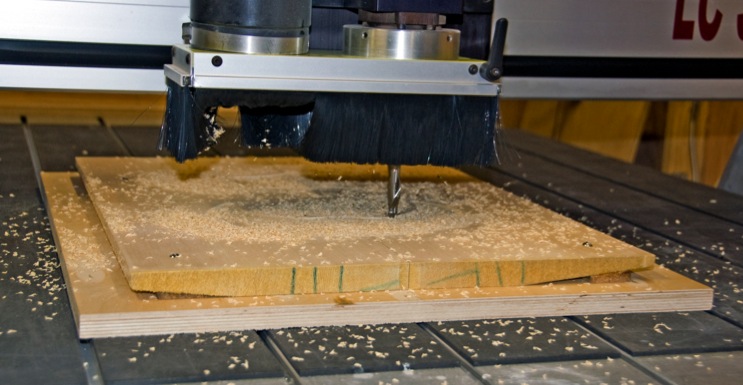
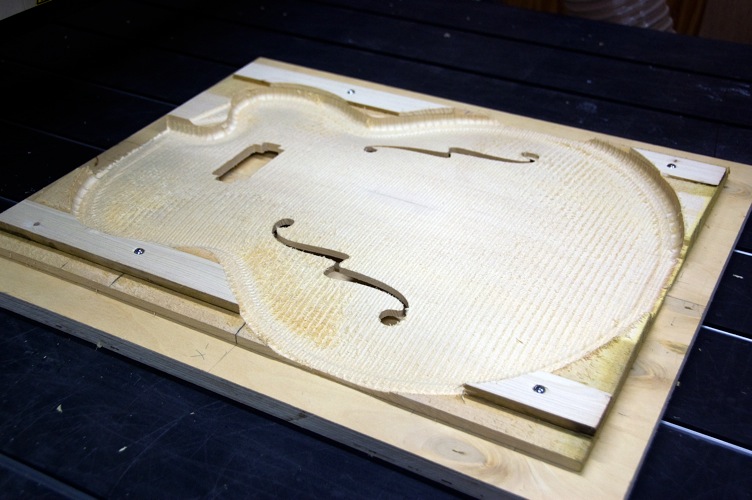
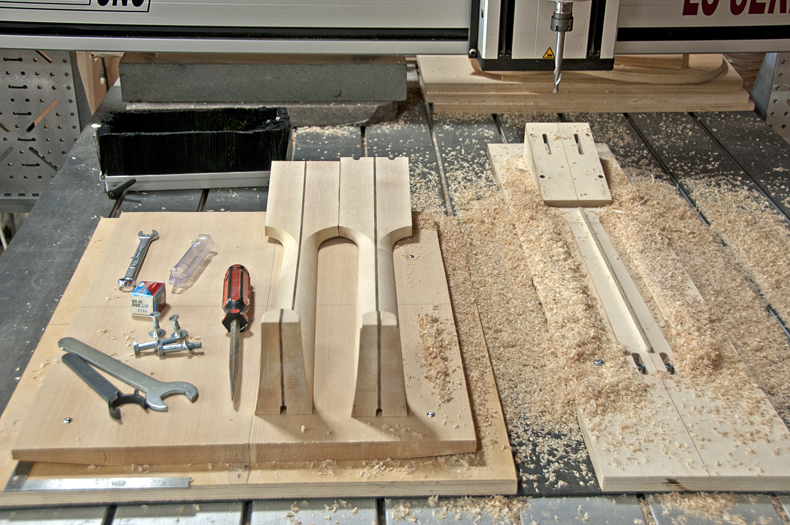
Here is a roughing operation underway on the inside surface of a top. Two of the four hold down bolts are visible in the foreground. The bolts attach to t-nuts in the spoil board, which is bolted to nuts in the slots of the CNC table.
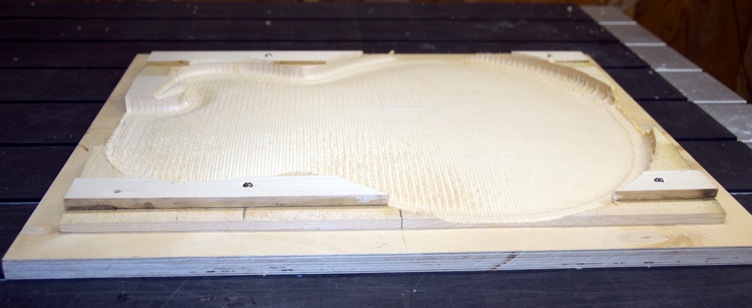
Here is a top with the outside finishing pass complete.
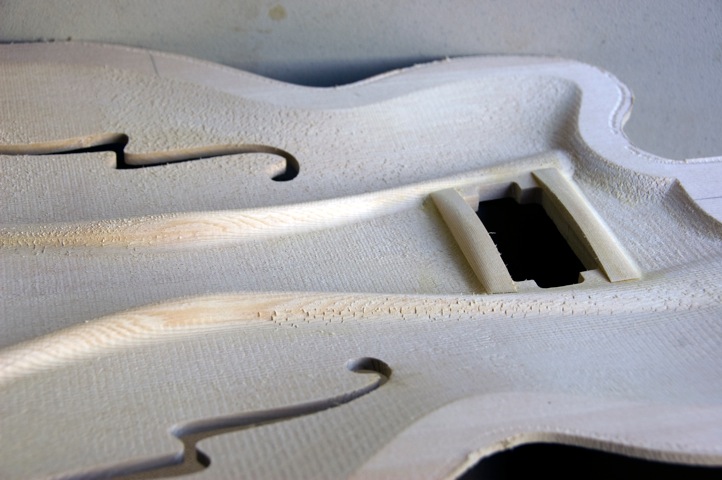
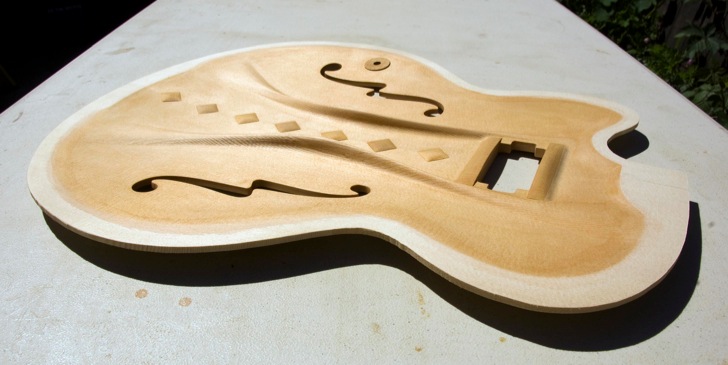
F holes and pickup cavity have been cut.
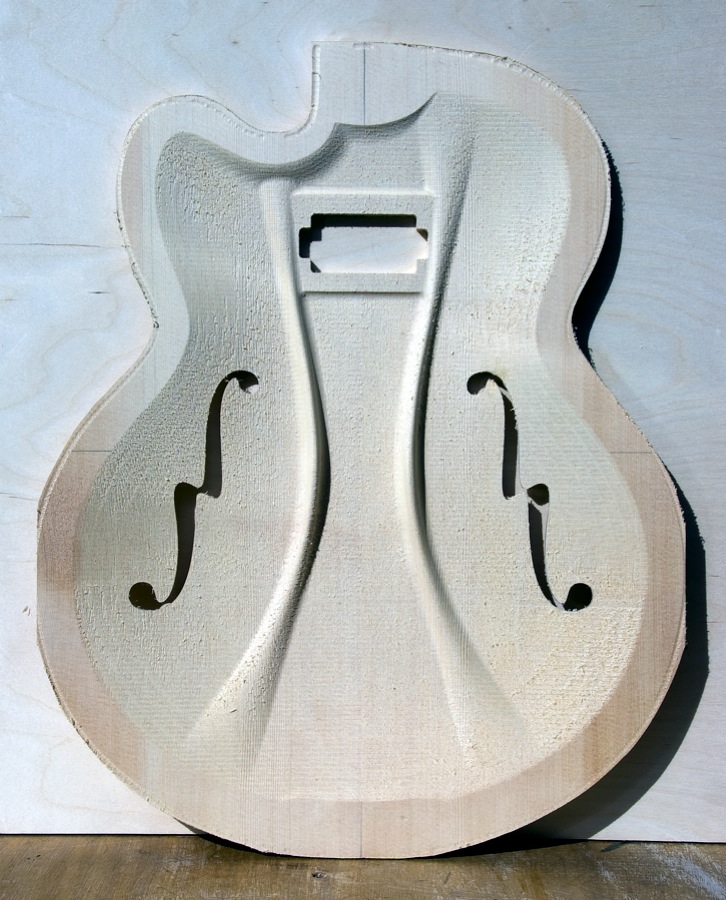
This is a new design, tentatively named “Pannonica”. A humbucking style pickup will be surface mounted on the top. I have ordered a Q-tuner GL-6 to try on this guitar. To quote from the Q-tuner site:
The passive GL-6 combines the power of high-performance neodymium magnets with greater efficiency "free standing" air coils. The most noticeable sonic feature of the GL-6 is the extremely linear frequency response (“ruthlessly accurate wideband sound”). Optimized winding geometry gives ideal value/dcr ratios; hence, maximum humbucking action.
I am hoping that this very clear and bright pickup will be a good match for my warm, dark instruments.
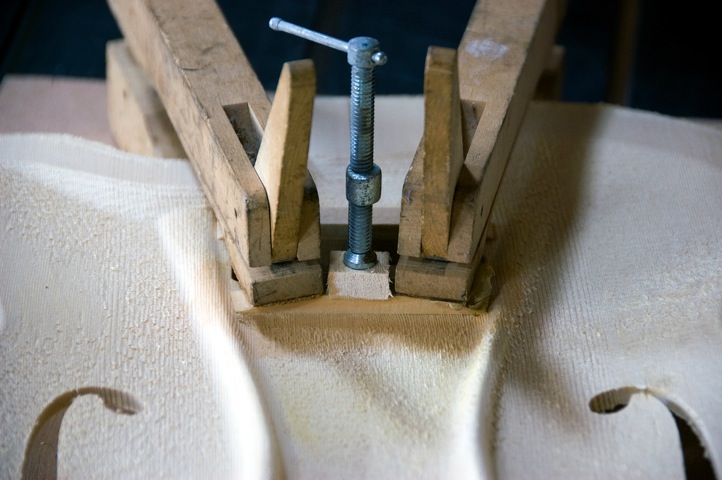
Gluing an additional brace across the grain of the pickup cavity.
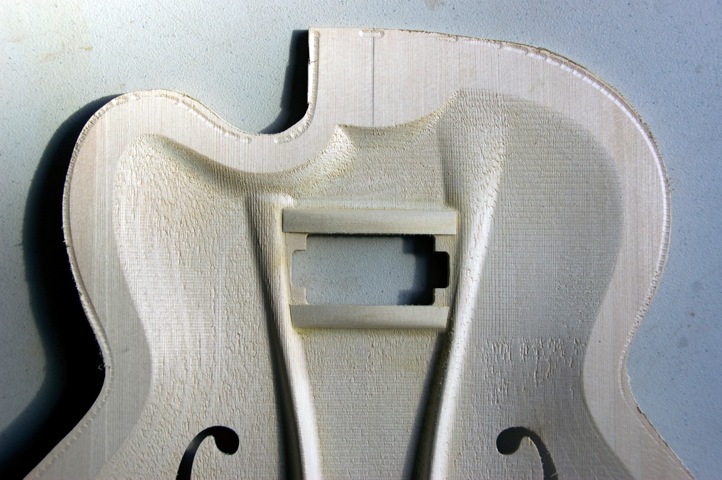
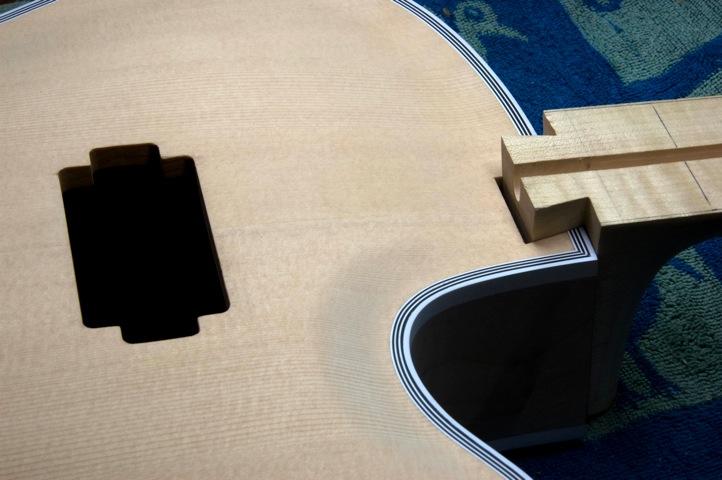
Completed pickup cavity.
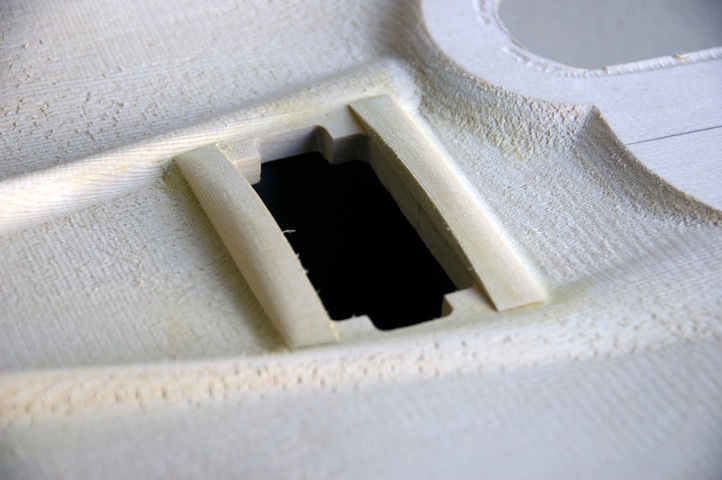
I may thin out the cross grain braces a bit more.
Pannonica will have less body depth, and the top will be slightly thicker than a full fledged acoustic guitar. The design is not optimized for acoustic playing, but it should still sound pretty good acoustically, being just strong enough in the pickup area to support the weight of the pickup and maintain the integrity of the top under string tension.
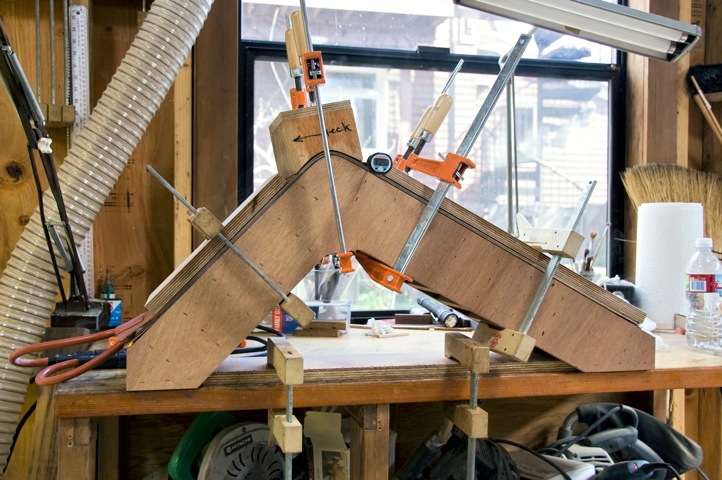
First stage bending of both sides. My forms are 6 inches wide, to work with the heating blankets and stainless steel slats sold by LMII, and will accommodate two archtop sides at one time. I find it is easier to control alignment of the sides in the second and third stage forms if I bend just one at a time, but for this first stage bending operation, I do both sides at once.
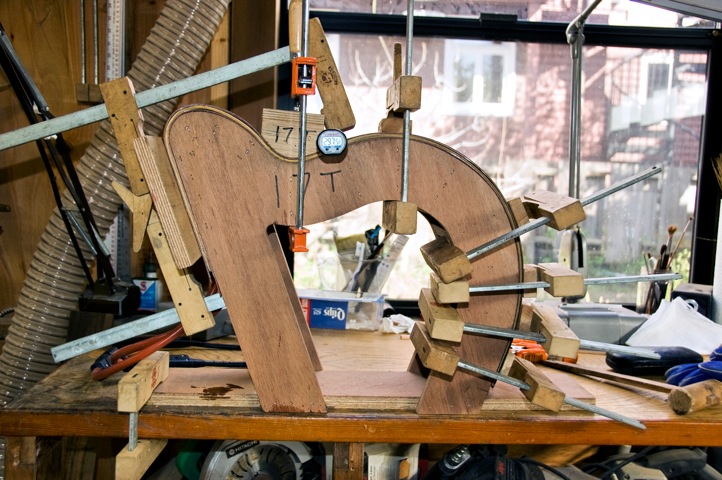
Second stage bending of the treble (cutaway) side. A sandwich of heating blanket, stainless steel slat, brown kraft paper, side, brown kraft paper, stainless steel slat, and heating blanket is laid up cold over the form. The kraft paper layers and side have been generously misted with distilled water from a spray bottle. Once the waist caul is in place and everything is aligned properly, the blankets are heated. When the temperature reaches 230 or 240 degrees (fahrenheit), steam will be released and the sandwich can be bent and clamped around the form. The sandwich is then brought up to 290 to 300 degrees, and kept there for 15 minutes. Then it is allowed to cool to room temperature before proceeding to any subsequent bending stages.
Second stage bending of the treble (cutaway) side is complete.
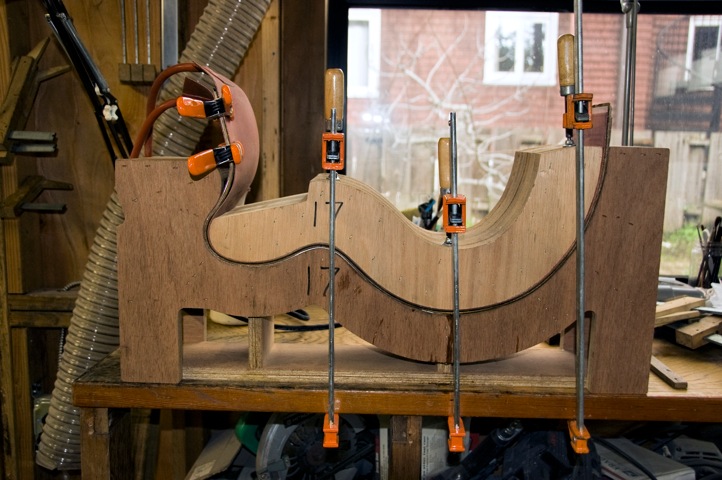
The sandwich is positioned for third stage bending of the treble (cutaway) side.
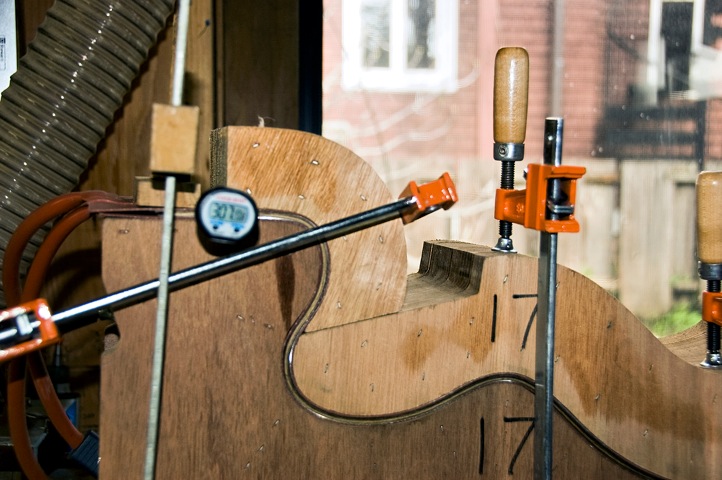
Third stage bending of the treble (cutaway) side is complete. After the final bending stage, the side is left in the form overnight to set the bend.
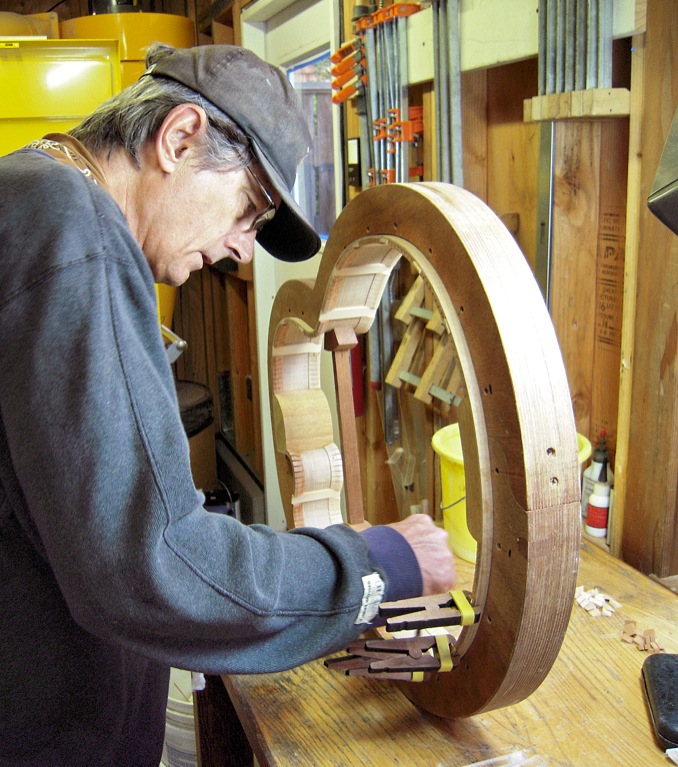
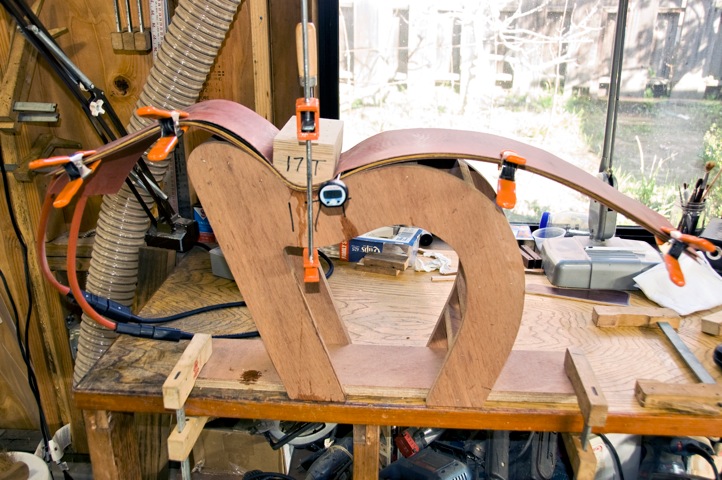
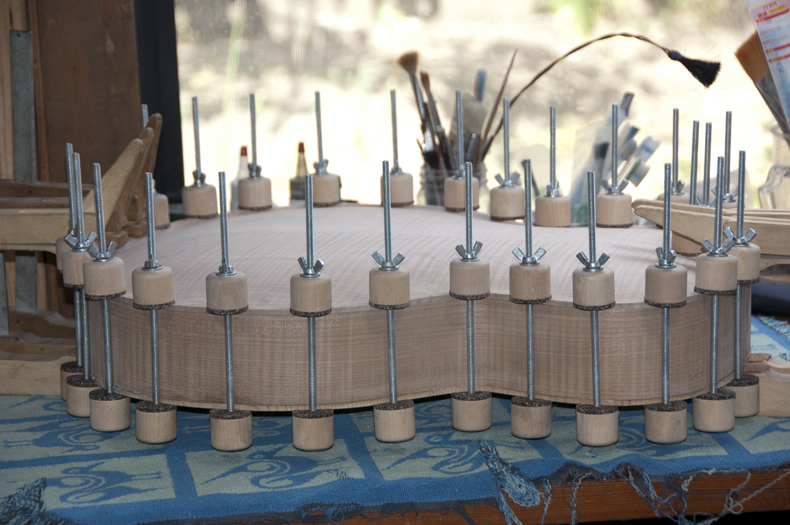
An 18” Skylark rim nearing completion; the last little lining wedges covering the ends of the side braces are being installed.
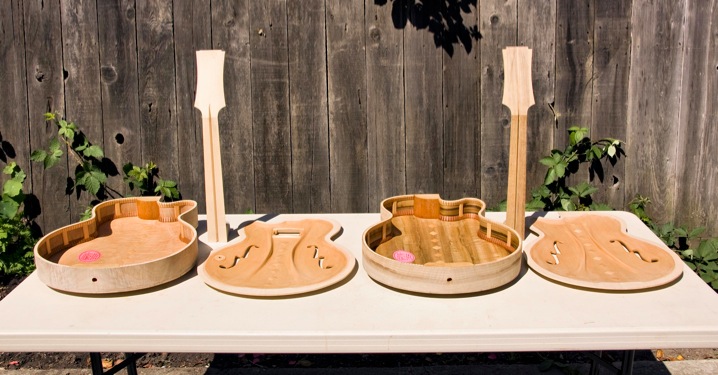
Two 17" guitars are nearing assembly. The Oregon myrtlewood guitar at right is highly optimized as an acoustic guitar. The big leaf maple guitar at left has a slightly thicker top, with braces spread to accommodate a surface mounted humbucking style pickup.
Highly optimized top for an acoustic guitar. I am making this generation a bit thinner and more flexible than before. The tone bars are less prominent and spread out wider as they reach the periphery. I am reinforcing the center seam with cleats that have alternating grain directions. I have removed the last vestiges of excess wood where the top meets the neck block, tail block, and linings.
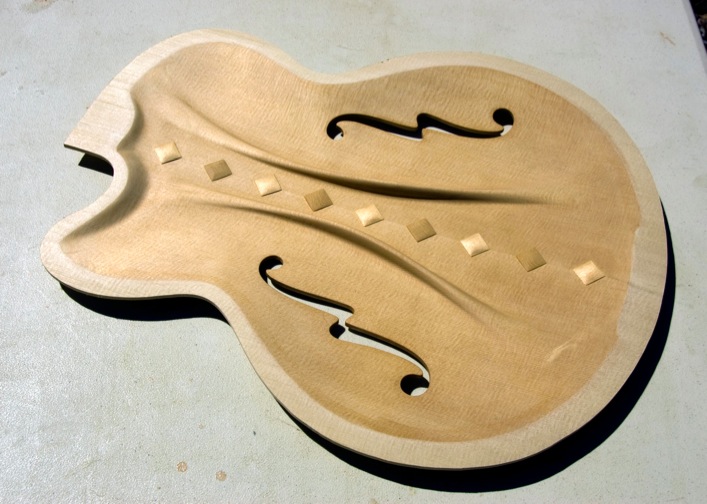
Top for an amplified guitar. The top is a bit thicker than it would be for a purely acoustic top. The tone bars are spread wider near the neck block, to accommodate a surface mounted pickup, and are slightly more robust around the pickup cavity, to maintain longitudinal stiffness.
Oregon Myrtlewood body for an acoustic guitar.
I have removed all extraneous mass from the back, all the way around the perimeter.
Western Bigleaf Maple body for an amplified guitar.
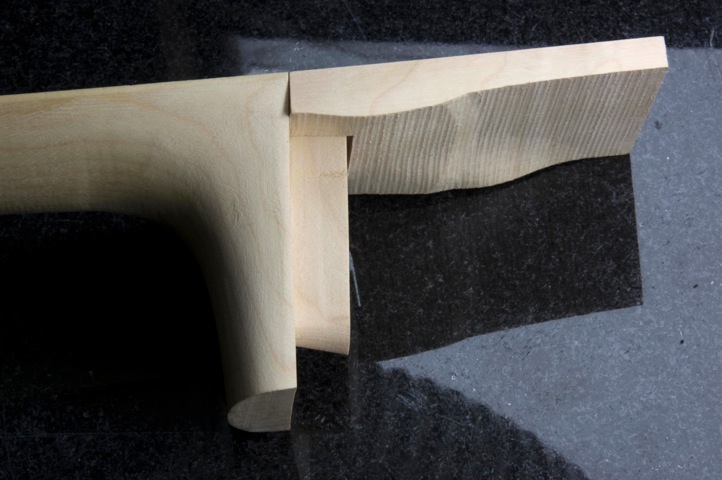
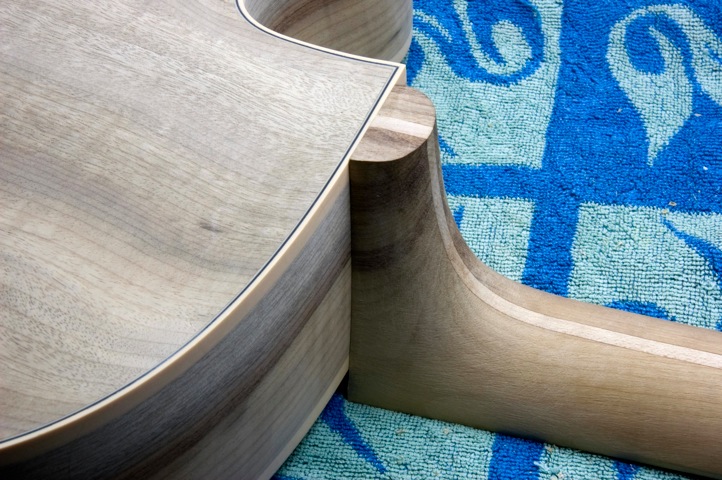
I make a Gibson style fingerboard extension. The surface that mates with the top is rough shaped on the CNC router; the mortise for the neck tenon is cut by hand and chalk fit to the neck. The pictures here show the parts dry fitted together. I'm almost ready to glue up these parts, but there is one more operation that remains to be done. I need to cut the recess for the finger rest bracket in the neck extension. Once the neck extension is glued on, I will chalk fit its under surface to the top.
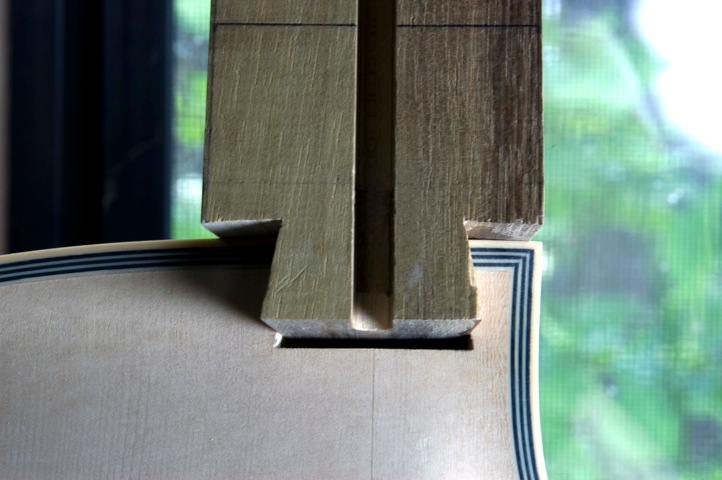
I fit the neck tenon to the mortise in the neck block, and to the neck extension, with no shims.
No shims means a very secure joint, which enhances the vibration of the whole structure.
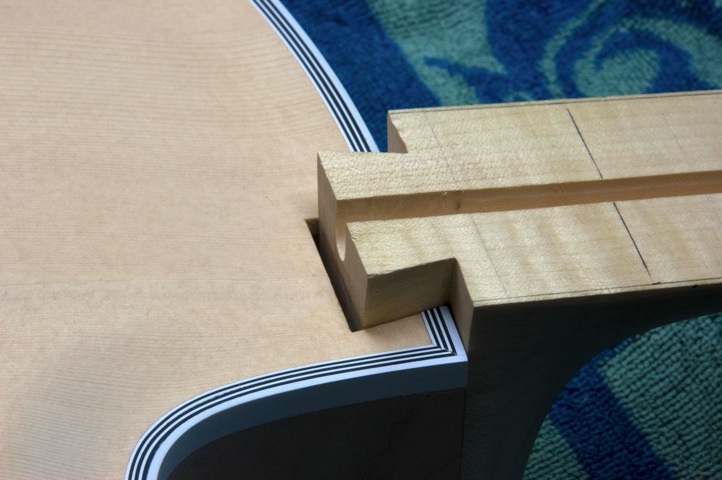
No shims in the neck block mortise.
This guitar will have a humbucking style pickup. I will try out three, a Q-Tuner GL-6, a Bartolini 1C (series and parallel), and a Lace Alumitone. You may guess that I am shooting for a clear, acoustic like tone.
The amplified guitar has bigleaf maple back and sides and a European maple neck.
I am also working on a purely acoustic guitar with Oregon Myrtle back, sides and neck.
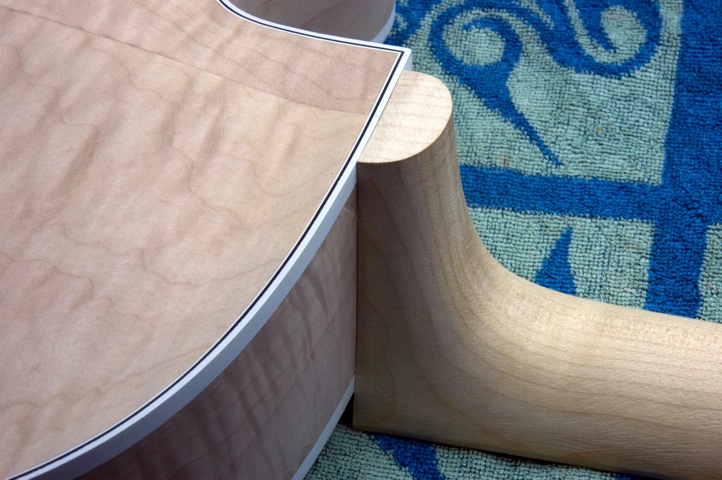
Look Ma, no shims!
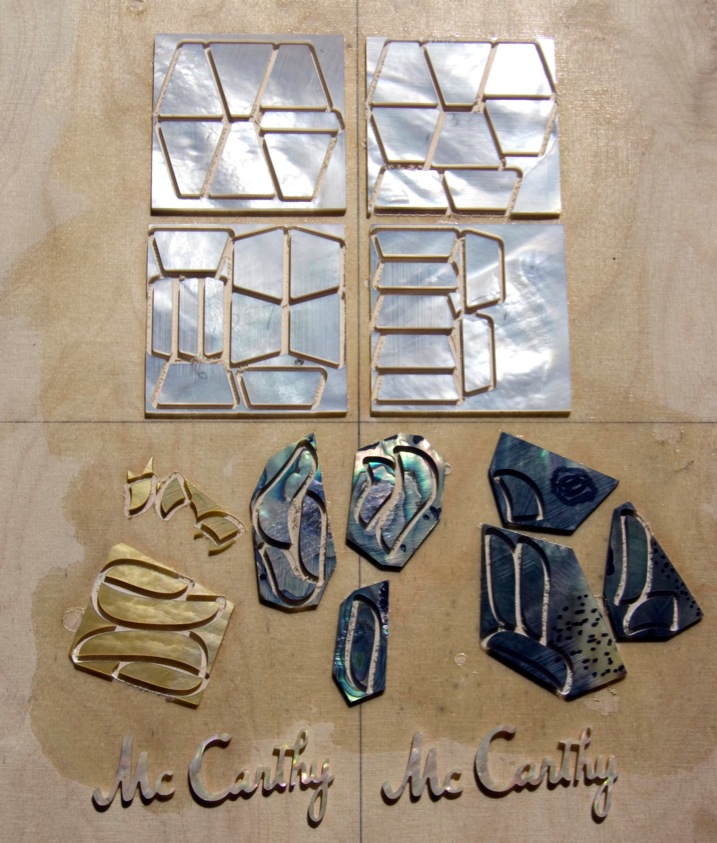
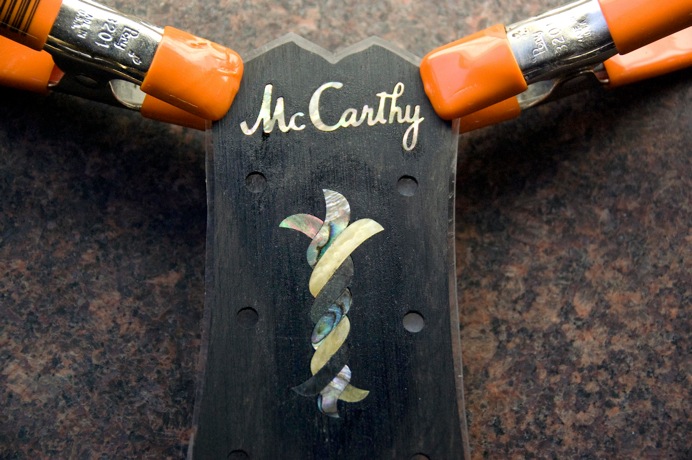
I am using some of my better shell for these guitars. The two maker’s logos were done earlier, but the finger board position markers, and the parts for the three strand peg head decorations were cut in about 40 minutes on the CNC router. It took more time than that to do the programming, but not too long...
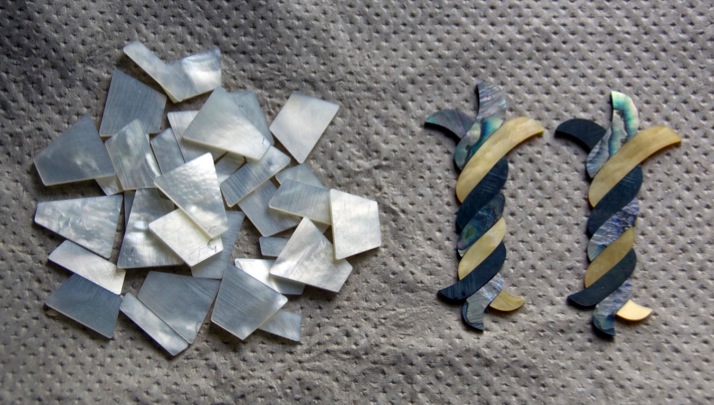
The tri-strand peghead decorations are black pearl, paua abalone, and yellow pearl, which gives a lot of contrast.
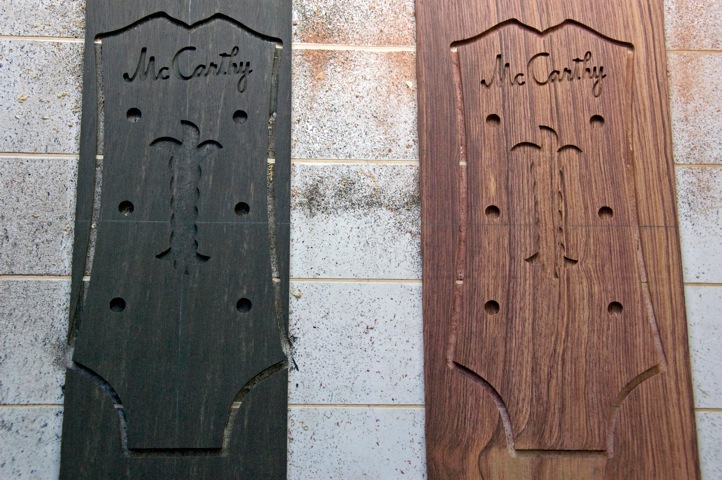
Hot off the CNC, two peghead overlays.
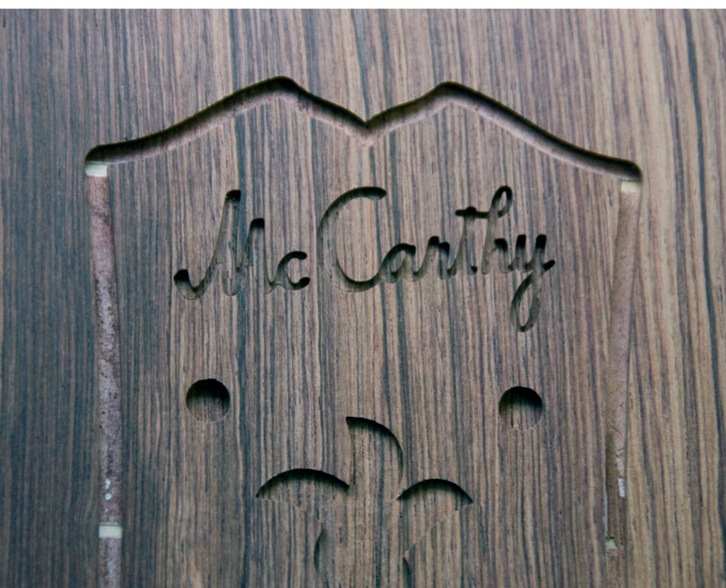
The islands of rosewood in the A, H and Y of the maker’s logo will be visible in the finished peghead; try doing that by hand! I use a .023 3 flute carbide end mill to cut these pockets.

Ebony will not be so obvious, but there is some grain visible under bright light.
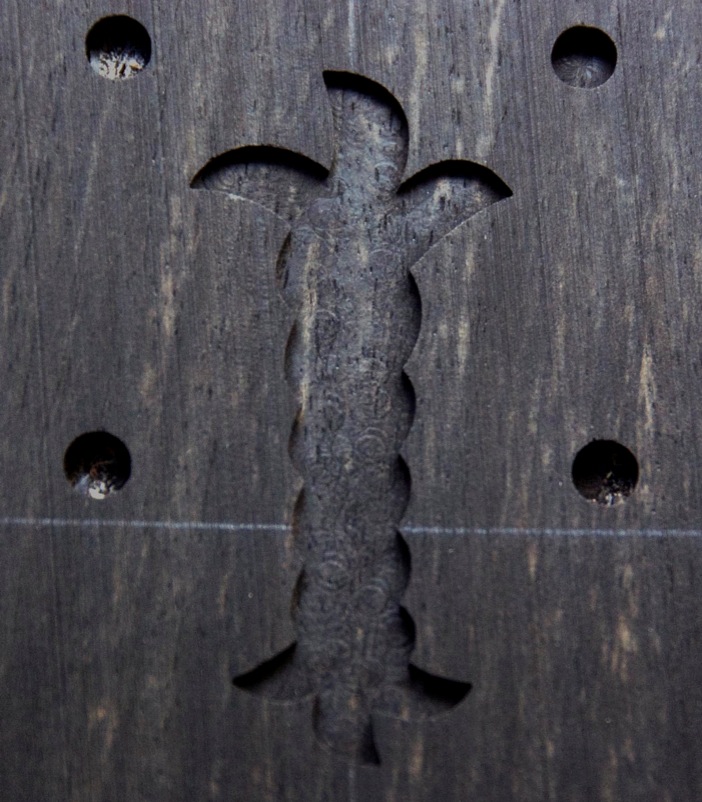
I use a 1/8 3 flute carbide end mill to cut most of the pocket for the tri-strand decoration, and chase the corners with a .023.
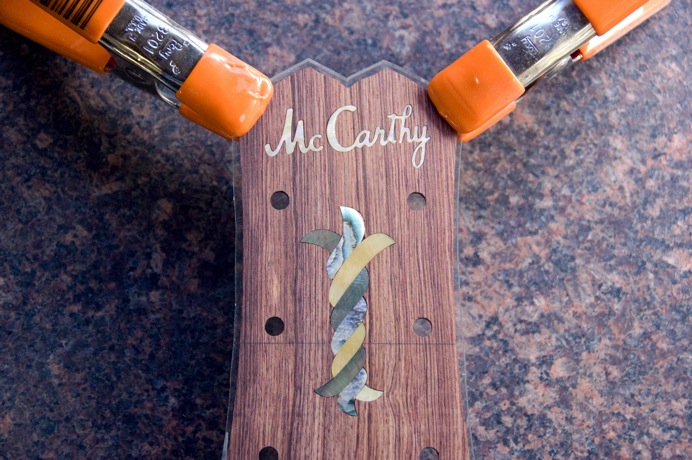
Pearl pieces dry fit in place, to check their alignment.
Glued in place with cyanoacrylate.
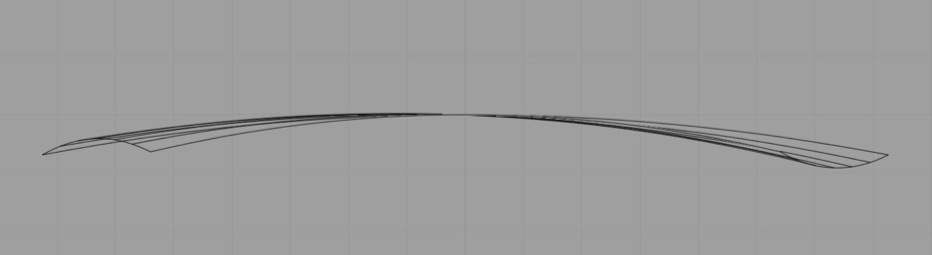
June 1st, 2010. Only one month left before the Montreal Guitar Show. Warning: Total guitar geek discussion follows; if you understand all of this right away, you're a true guitar geek. Today I finished milling 2 new fingerboards. For the first time, I am milling relief into the fingerboard surface, and milling it in a graduated fashion. By graduated, I mean that there is more relief on the bass side of the fingerboard, and less on the treble side. If you don't understand the need for this this, you can read Hideo Kamimoto's book, Complete Guitar Repair, but essentially, the lower strings, which are larger in diameter, and typically have lower tension, vibrate in a wider arc, and need more relief to avoid buzzing against the frets. In the past, I did this graduated relief by hand with a sanding block before installing the frets, but I have been going for more of a treble/bass differential recently. I don't want to be thinning the fingerboard and inlays so much on the bass side, so I actually make the relief negative (convex) on the treble side and positive (concave) on the bass side, when I mill the fingerboard. With a double action truss rod, I can straighten the fingerboard after it is glued on to the neck, and do a bit of final surfacing. I can make the inlay pockets follow this complex surface, and get the kind of dramatic results I want without any part of the fingerboard having to be much thinner than anywhere else. By the way, these fingerboards are also conical, with a 9" radius at the nut, and a 15" radius at the 20th fret. I scaled the drawing in the photo narrower than it is in reality, to make the shape more obvious. You are looking down the fingerboard from the nut, towards the bridge; you can see the negative relief on the treble side at your left, and the positive relief on the bass side at your right. The differential is 1/32", negative 1/64" on the treble side, and positive 1/64" on the bass side. The neck will pull up more on the treble side under string tension, so the final differential that this surface gives will be more like 1/64".
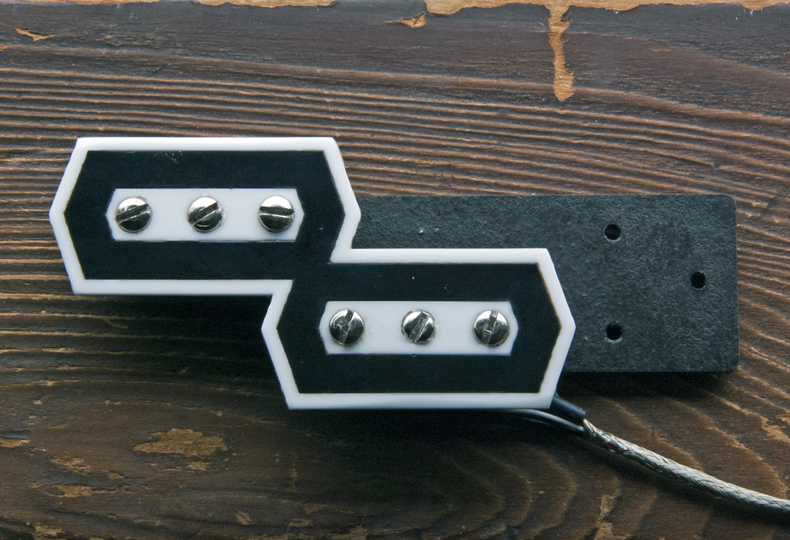
May 24, 2011. I haven't updated this page in nearly a year, but it gets a lot of hits from StubbleUpon. Those are not always quality visits, but more hits is a good thing in general. So today in addition to blogging I will add some new content here and see what happens. This is a custom pickup that I ordered from Pete Biltoft at Vintage Vibe Guitars. I haven't heard it yet because it is a bit too thick for any guitars that I have yet completed; if it sounds like the non-adjustable thinner version that I got earlier, I will be happy. I have updated my neck models with a better neck angle, so that I can accommodate a pickup of this thickness (about 1/2"). The guitars that I currently have underway will accommodate this pickup.
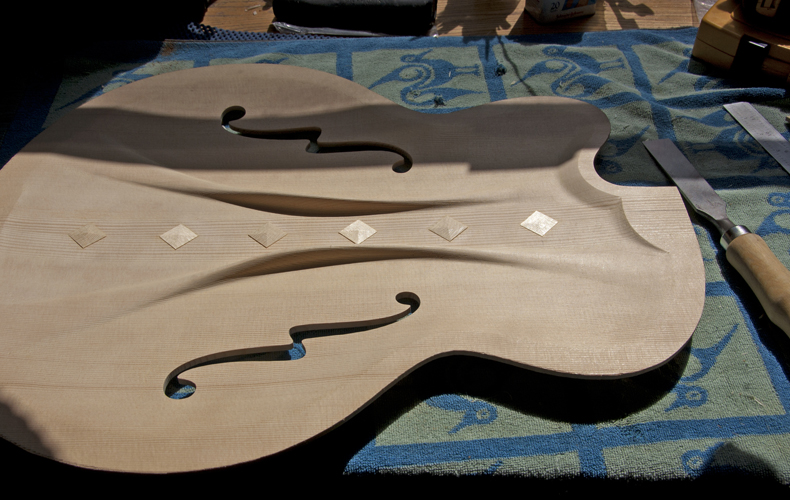
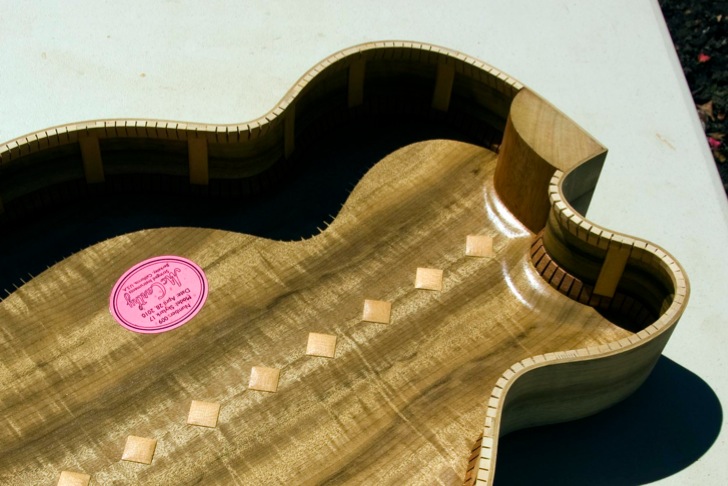
This is the top I had on display at Montreal last year. I'm finally getting around to assembling a guitar with it. I trimmed the cleats on the center seam with a 25mm chisel. I'm trying to make the best use of the morning hours; direct sunlight through my east facing window.
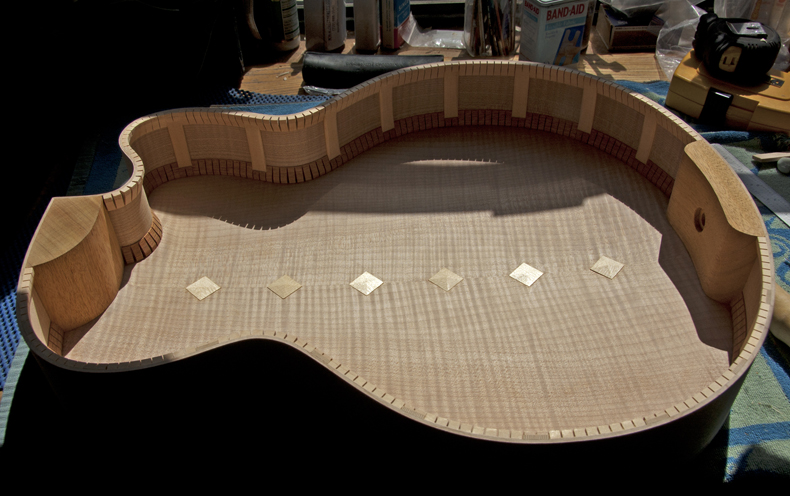
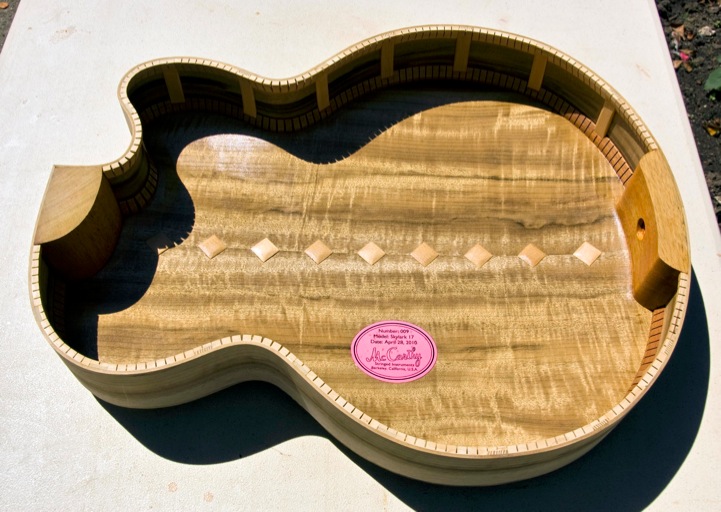
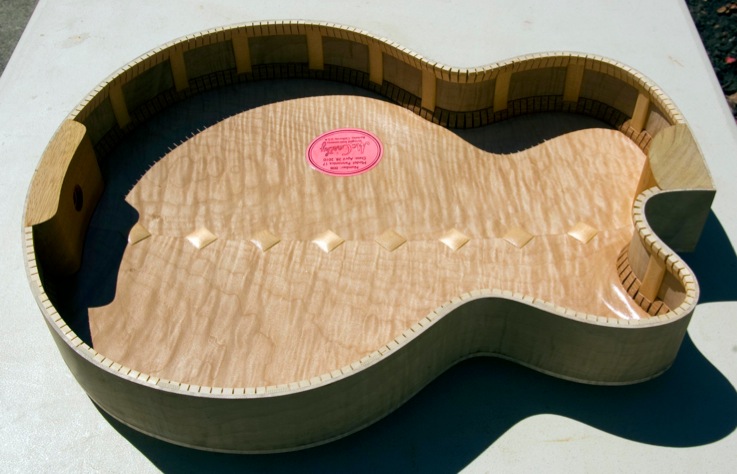
Here is the body for the top displayed in Montreal. It's an 18 inch big leaf maple Skylark with some nice figure.
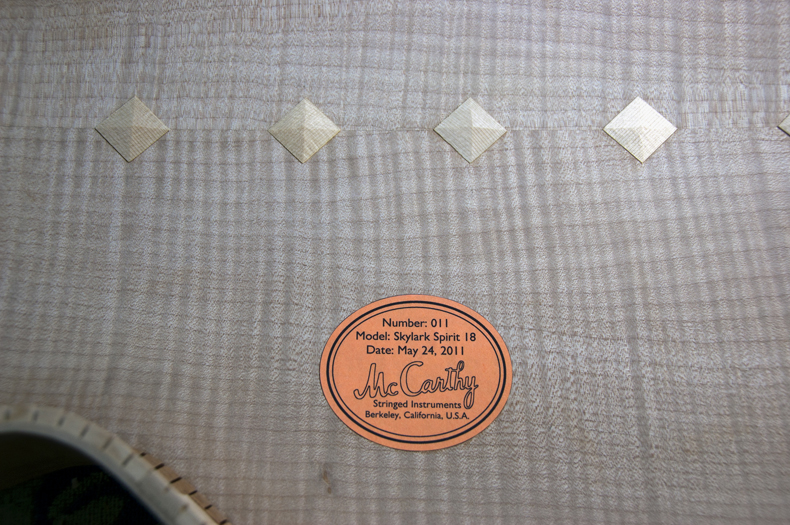
Applying my label is always something of a thrill.
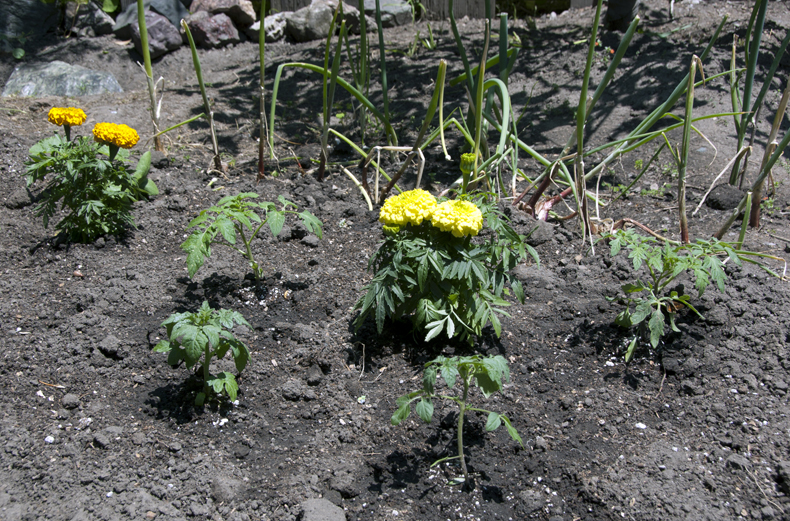
The onions we put in last fall are getting mature; yesterday we put in some tomatoes, zucchini, and cucumbers, with marigolds to keep the vegetables company. Today I was delighted to see that the new plants, which had been in root-bound stupor, were really perking up. If you don't get the context of this picture, you should check out my blog.

Upper body of the same guitar.
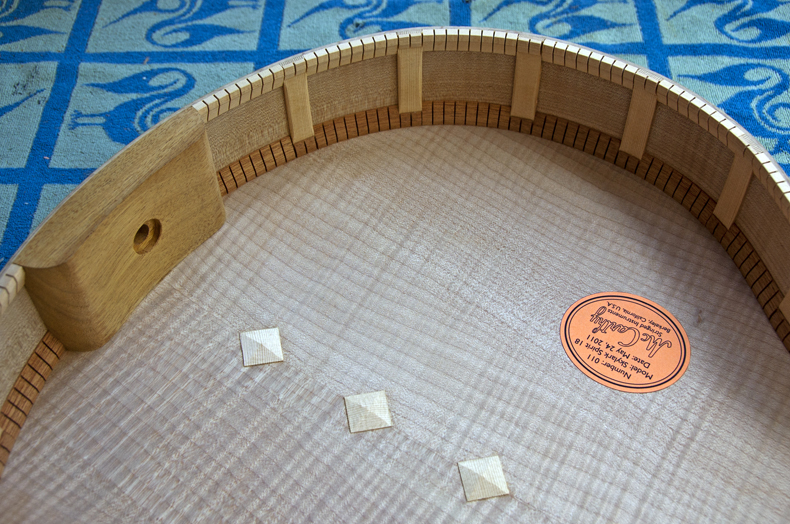
Tail block area of the same guitar.
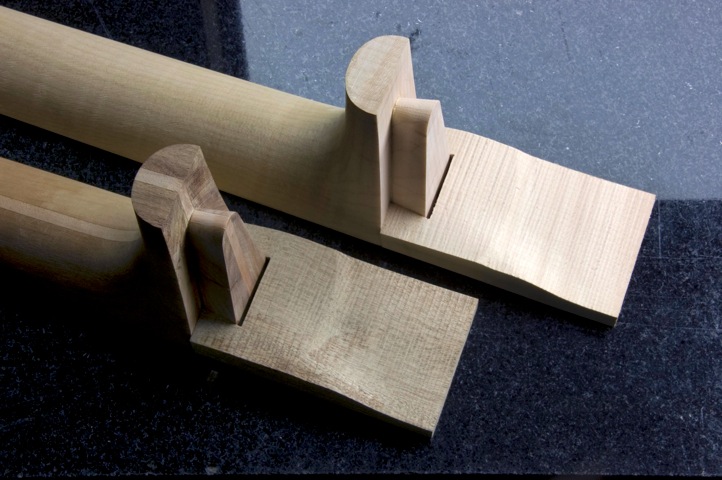
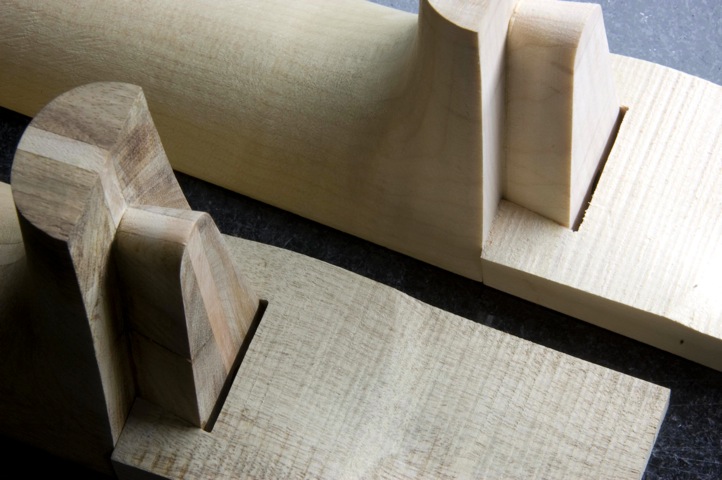
To better manage hold down of neck blanks, I built a new jig which will handle a variety of scale lengths and neck angles; it is also considerably more secure than what I had been using until now. Here you can see that I have finished rough carving necks for two Skylark Spirits that I have underway; a 16" guitar with a 25" scale, and an 18" guitar with a 25.5" scale.
Last thing today I glued the top on the 18" guitar.